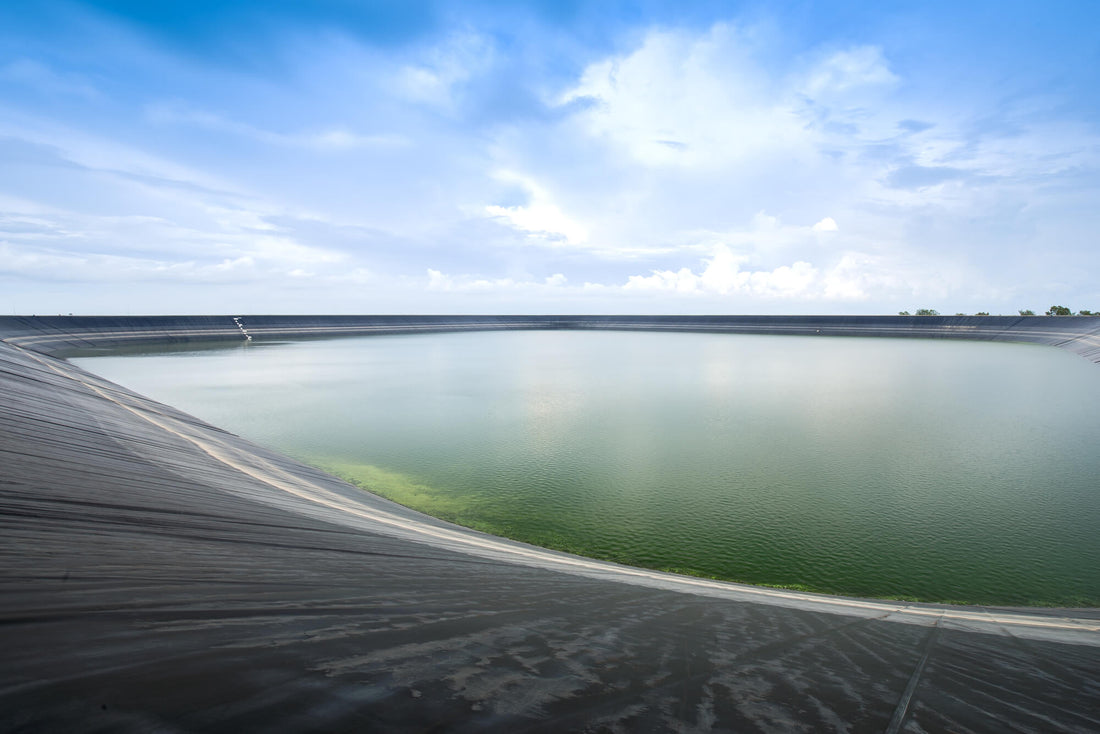
The time has come for you to install your pond liner.
No matter where in the actual pond-making process you are, it’s always best to have a good idea to know what challenges you might face going forward.
Lining your pond is both an easy and difficult task, but it’s one whose challenge level can be somewhat mitigated by prior proper planning.
Read on to learn the best way to make the installation of your flexible pond liner easy instead of headache-inducing.
Basic Information
Luckily for you, most pond liners tend to be installed in the same way.
Do not take this to mean that you can pick up any pond liner and install it willy-nilly, but a lot of the steps may seem familiar, no matter which one you pick up.
Again, let it be stressed: this is not a one-size-install-all process, so make sure you’ve familiarized yourself with the specific way in which your liner needs to be installed.
One last quick note: this guide assumes that you’ve already done all the heavy labor regarding measuring the pond, digging the dirt from the pond, and making sure the pond is ready for the liner.
Choosing Your Liner
You’re going to want your liner to be durable and long-lasting, so it’s best to do your research when it comes to choosing the best flexible liner for your pond product.
For the highest quality water containment that is also extremely durable, you’re going to want to look into reinforced polyethylene liners.
These sorts of pond liners can be made-to-order at factories across the country and can also ship quickly so you can get started on your project as soon as possible.
Additionally, the material that these liners are made out of offers extreme flexibility, are very hard to tear or puncture, and are strong enough to contain the water you’ll pour into your pond.
To Underlayment or Not?
Before it comes time to the actual laying of the liner, make sure to survey the space that you’ve dug out for your pond. If there are many sharp rocks or places that might puncture through the liner, you should look into getting an underlayment.
The underlayment will sit beneath the liner and will go a long way toward protecting the layer from being punctured by sharp rocks or buried roots.
When it comes to underlayment options, you can choose between a commercial underlayment, sand, thick layers of stacked newspapers, or even old carpeting if you have that lying around.
Whatever you decide to use as your underlayment, make sure that it creates a layer that’s at least half an inch thick that covers the entire area that the flexible liner will touch.
Drape That Liner
This step has the potential to be one of the most fun moments of the whole pond lining experience. With this step, you can call over friends and family and have them help you drape the liner over the entirety of your dug-up pond.
You’re going to want to drape the liner over all edges of the pond so that it overlaps the edges, but also has equal distance on all sides.
Make sure that your liner is larger than your pond when you drape it over. If it’s shorter in any way, shape, or form, stop!
You’ve done something wrong and you should look into your measurements again.
Once your line is draped correctly, it’s time to start playing with water.
Fill, Fill, Fill!
It’s now time to start filling your pond!
You’re going to want to secure the edges that drape outside of the pond with rocks or other heavy objects and then start filling the pond.
The weight of the water will allow for the liner to automatically contour to the shape of your dug-out pond, so don’t worry about having to do so manually.
As your pond is filling with water, you can tug various corners of it to try and remove any folds or wrinkles that develop as the water level is rising.
Once the liner is completely taut and no longer wrinkled, you can remove the rocks/heavy objects to allow for the liner to naturally slip to the edges of the pond.
At this point, you can trim off any excess liner that may still be draping extensively outside of the pond.
Side Note
If you decide you don’t want to trim the liner, you can start getting excited with your landscaping.
As long as you end up finding a way to keep the excess taut, you can landscape your backyard however you want and work the liner into your design if you so choose.
Additional Thoughts
As mentioned above, the method for installation of a flexible pond liner tends to be similar no matter the type of material that is being used or the size of the pond.
If you’re going for a larger area that will require the flexible liner, ask friends or family to help you with the installation so that you can make sure you’ll end up with a flat, unwrinkled liner at the end of the day.
If, after reading this article, you’re still uncertain about installing the liner on your own, there’s no shame in asking for a professional to come and do the installation.
Although this is the more costly option than installing it yourself, you’ll be able to rest with a lighter heart knowing that the work was done by a professional.
At the end of the day, the liner is there to help prevent leaks and to keep your pond as healthy as possible as it weathers the elements, so you’re going to want to make sure that the installation is performed as perfectly as possible.
